Configure RADIUS Connection from FortiAuthenticator to Fortigate for 2FA Authentication
Preface
This document outlines the steps to configure a RADIUS connection between FortiAuthenticator and FortiGate for enabling two-factor authentication (2FA) within our network infrastructure. Implementing 2FA enhances security by requiring a second verification factor, significantly reducing unauthorized access risks. This guide is intended for network administrators responsible for managing FortiGate firewalls and FortiAuthenticator systems. It assumes familiarity with basic RADIUS concepts, FortiGate, and FortiAuthenticator configuration.
By following this documentation, you will ensure secure user authentication while streamlining the process of integrating 2FA into your FortiGate environment using FortiAuthenticator.
Prerequisite
- Access to the Fortigate;
- Access to the FortiAuthenticator.
Assumption
- There’s already some user (either local/remote) in the FortiAuthenticator that will be used for testing connection.
Procedure
Configure RADIUS Client in FortiAuthenticator
- Open Authentication → RADIUS Service → Clients menu;
- Select
+ Create Newbutton; - In the new opened
Create New Authentication Clientwindow:- In
Name, enter the common name of the Client; - In
Client address, selectIP/FQDN, and then enter the value of the IP address; - In
Secret, enter your desired secret. Remember/note this secret well, because you will have to use this again on the Fortigate; - Enable
Accept RADIUS accounting messages for usage enforcement; - Enable
Support RADIUS Disconnect messages; - Select
Save.
- In
- Create a policy for the client by going to Authentication → RADIUS Service → Policies menu;
- Select
+ Create New; - In the new opened window, go through the policy wizard:
- In
Radius clientspart, enter thePolicy namewith a descriptive name, and then choose the RADIUS client you just created before. ClickNext; - In
RADIUS attribute criteria, you can enableRADIUS authentication request must contain specific attributesif you need to, otherwise keep it disabled. ClickNext; - In
Authentication Typepart, select your needed authentication mode (normally I just selectPassword/OTP authenticationand then enable everything under it), then clickNext; - In
Identity sourcespart, keepEduroamoption disabled. Selectusername@realmfor username format, and then inRealmsselect the realms of the users; - In
Authentication factorspart, select configuration as needed, and then clickNext; - In the final overview part of
RADIUS response, just clickSave and exit.
- In
At this point, the configuration on FortiAuthenticator part should be enough.
Configure RADIUS Connection on Fortigate

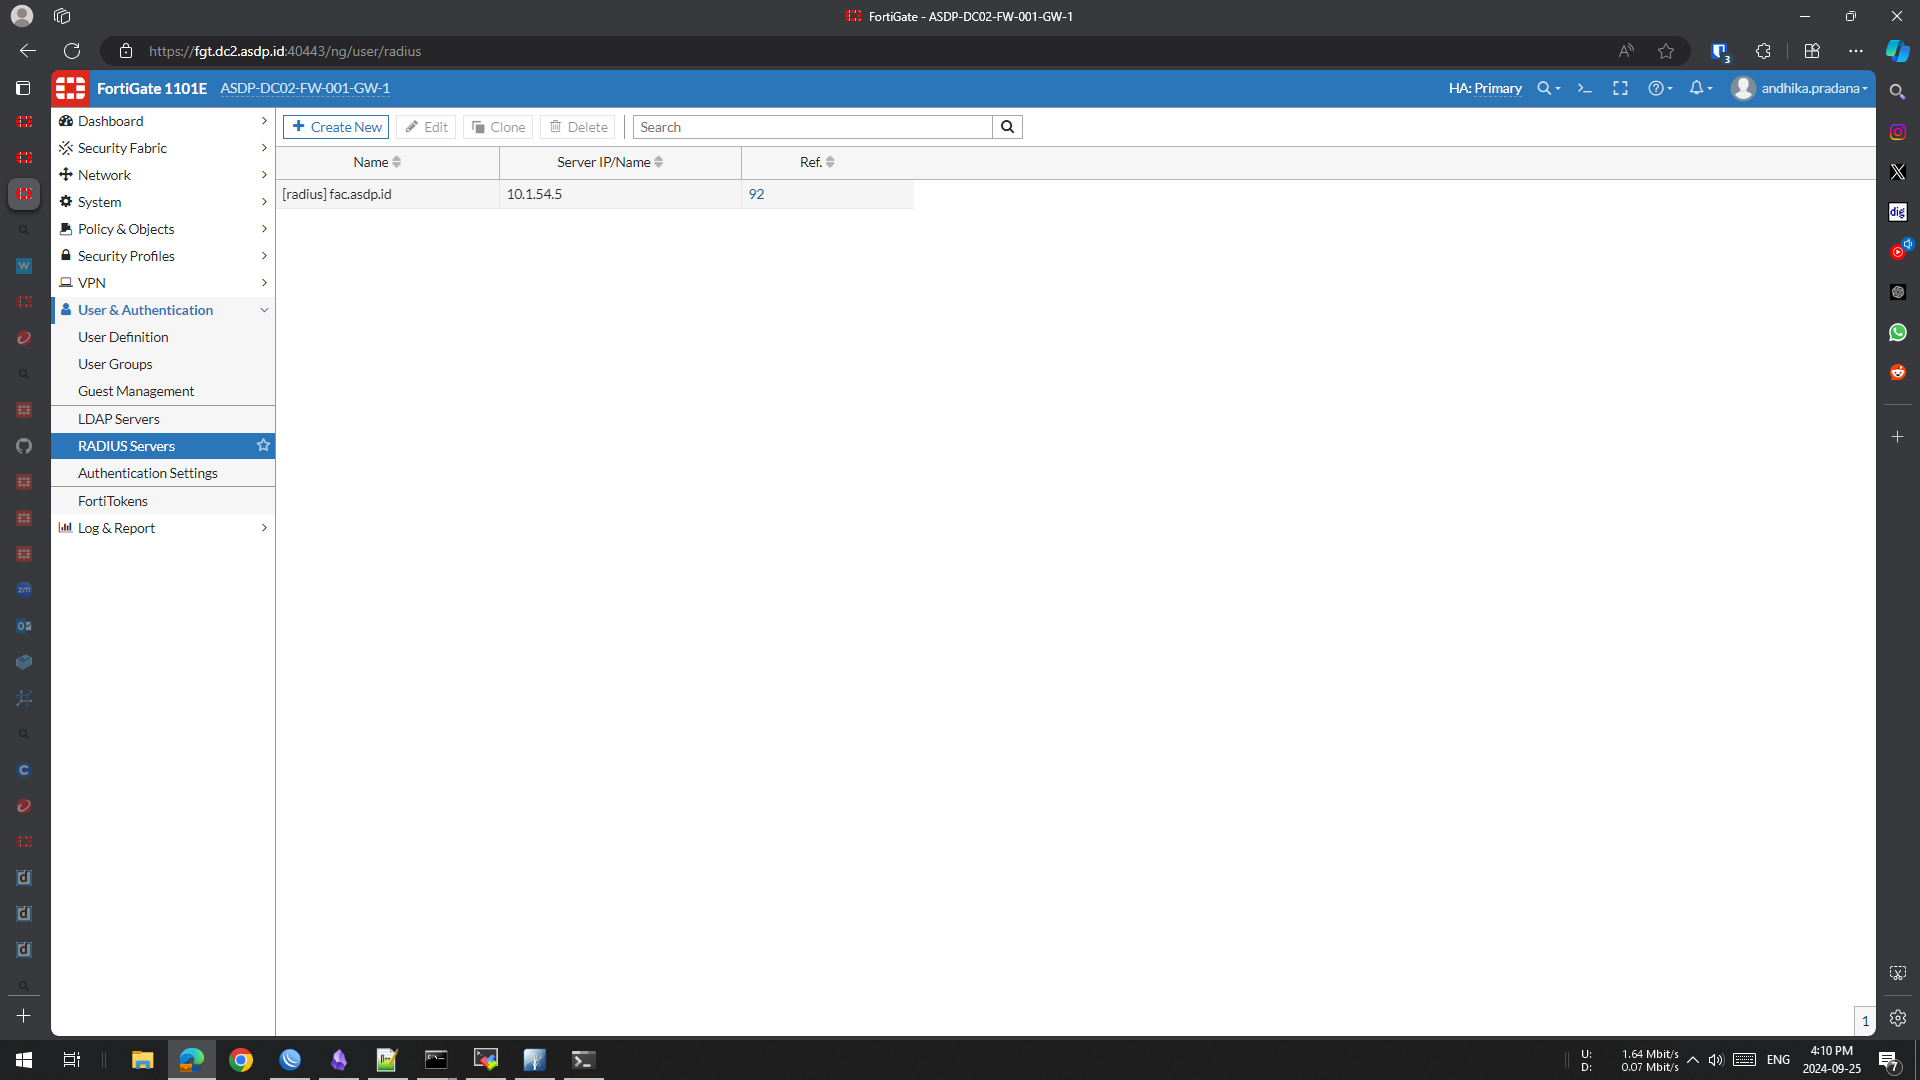
- In Fortigate, open User & Authentication → RADIUS Servers menu;
- Select
+ Create Newbutton; Namethe RADIUS Server name appropriately;- In
Authentication method, selectDefaultexcept if you need it otherwise; - In
Primary Serverpart, for theIP/Name, enter the IP address/hostname of the FortiAuthenticator, and enter theSecretyou set before in FortiAuthenticator; - Select
Test Connectivityto check if the connection between your Fortigate and FortiAuthenticator is fine. If not, make sure you can ping the FortiAuthenticator from Fortigate and able to access its RADIUS port (usually 1812 and 1813); - Select
Test User Credentialsto try if the Fortigate can authenticate correctly to FortiAuthenticator. If not, check the configuration again in the FortiAuthenticator clients/policy.
Conclusion
Successfully configuring the RADIUS connection between FortiAuthenticator and FortiGate ensures seamless two-factor authentication (2FA) for enhanced security. By integrating these systems, we strengthen user authentication processes while maintaining ease of access. Regular testing and monitoring of this configuration are crucial to ensure ongoing reliability and protection of our network infrastructure.
For setting up the users and firewall policy, you can check out this post: Configuring SSL-VPN Access with 2FA on Fortigate with FortiAuthenticator.